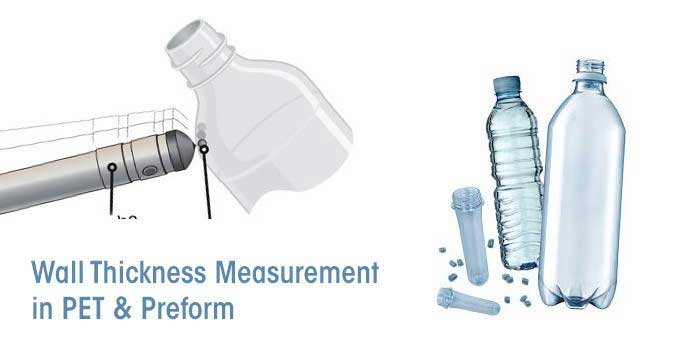
To ensure high quality in PET industries, it is vital to check every single aspect of the product prior initiating the production. There is a wide range of technical properties which are to be tested for high-quality yield. Such one factor is wall thickness which is tested by using a proficient wall thickness gauge.
Wall thickness is an important characteristic which is used for quality analysis of PET bottles. It provides distinct insights into the accuracy of manufacturing products. By measuring the wall thickness of material, the manufacturers can ensure that the material is uniformly distributed in the products as per the requirements and it delivers equal strength at every point.
Wall thickness testing instrument
It is an ideal instrument for measuring thin materials, difficult shapes and sizes. Its applications range from packaging and beverage industry for preforms and bottles to quality control of glass and aluminum containers, aerospace composite parts, medical packaging, automotive panels, and all other nonferrous materials. Magna-Mike 8600 is one such testing instrument used for making reliable and repeatable measurements on nonferrous materials using magnetic forces.
How can it be used?
Operating the instrument is quite simple. It had revolutionized the complex thickness evaluation methods into a simple standardized technique. Testing is conducted by holding its magnetic probe on one side of the test material and a small steel target ball is kept on the opposite side. It works on the principle method of ‘Hall-effect’ and calculates the distance between the probe tip and target ball. The results can be seen live on the digital display screen.
To use the instrument for PET bottles you need to follow these simple steps:
- Drop the small target ball inside the container.
- Place the magnetic probe on the outside surface of the bottle. This will attract the target ball.
- While scanning the probe along the surface or critical corners, the small steel target ball follows the probe.
- The gauge displays both the actual thickness and the lowest thickness reading live while the test is going on.
Key features to look for are as follows:
- It comes with three new durable probe designs termed as straight, right angle, and low-profile articulating probes.
- Equipped with replaceable wear caps
- Expanded magnetic target ball size of 3/16 and 1/4 inches along with thickness range up to 25.4 mm.
- Larger digital colour VGA display for live test results.
- Offering RS-232, USB, and VGA outputs
- Faster evaluation update by the rate of 60 Hz
